This is the first in a series of posts about integrating dashboards and reports into your product
When building out a B2B product, dashboards and reports are a definite necessity you would have to setup in order to provide value to your customers. However, writing the logic from scratch, setting up data visualisation libraries and handling constant change requests can get quite painful. In order to solve this, Onvo AI has built a low-code solution that lets you integrate an SDK and then build and maintain dashboards and reports using AI. This tutorial will walk you from A to Z through embedding a dashboard from Onvo onto your web app or website.
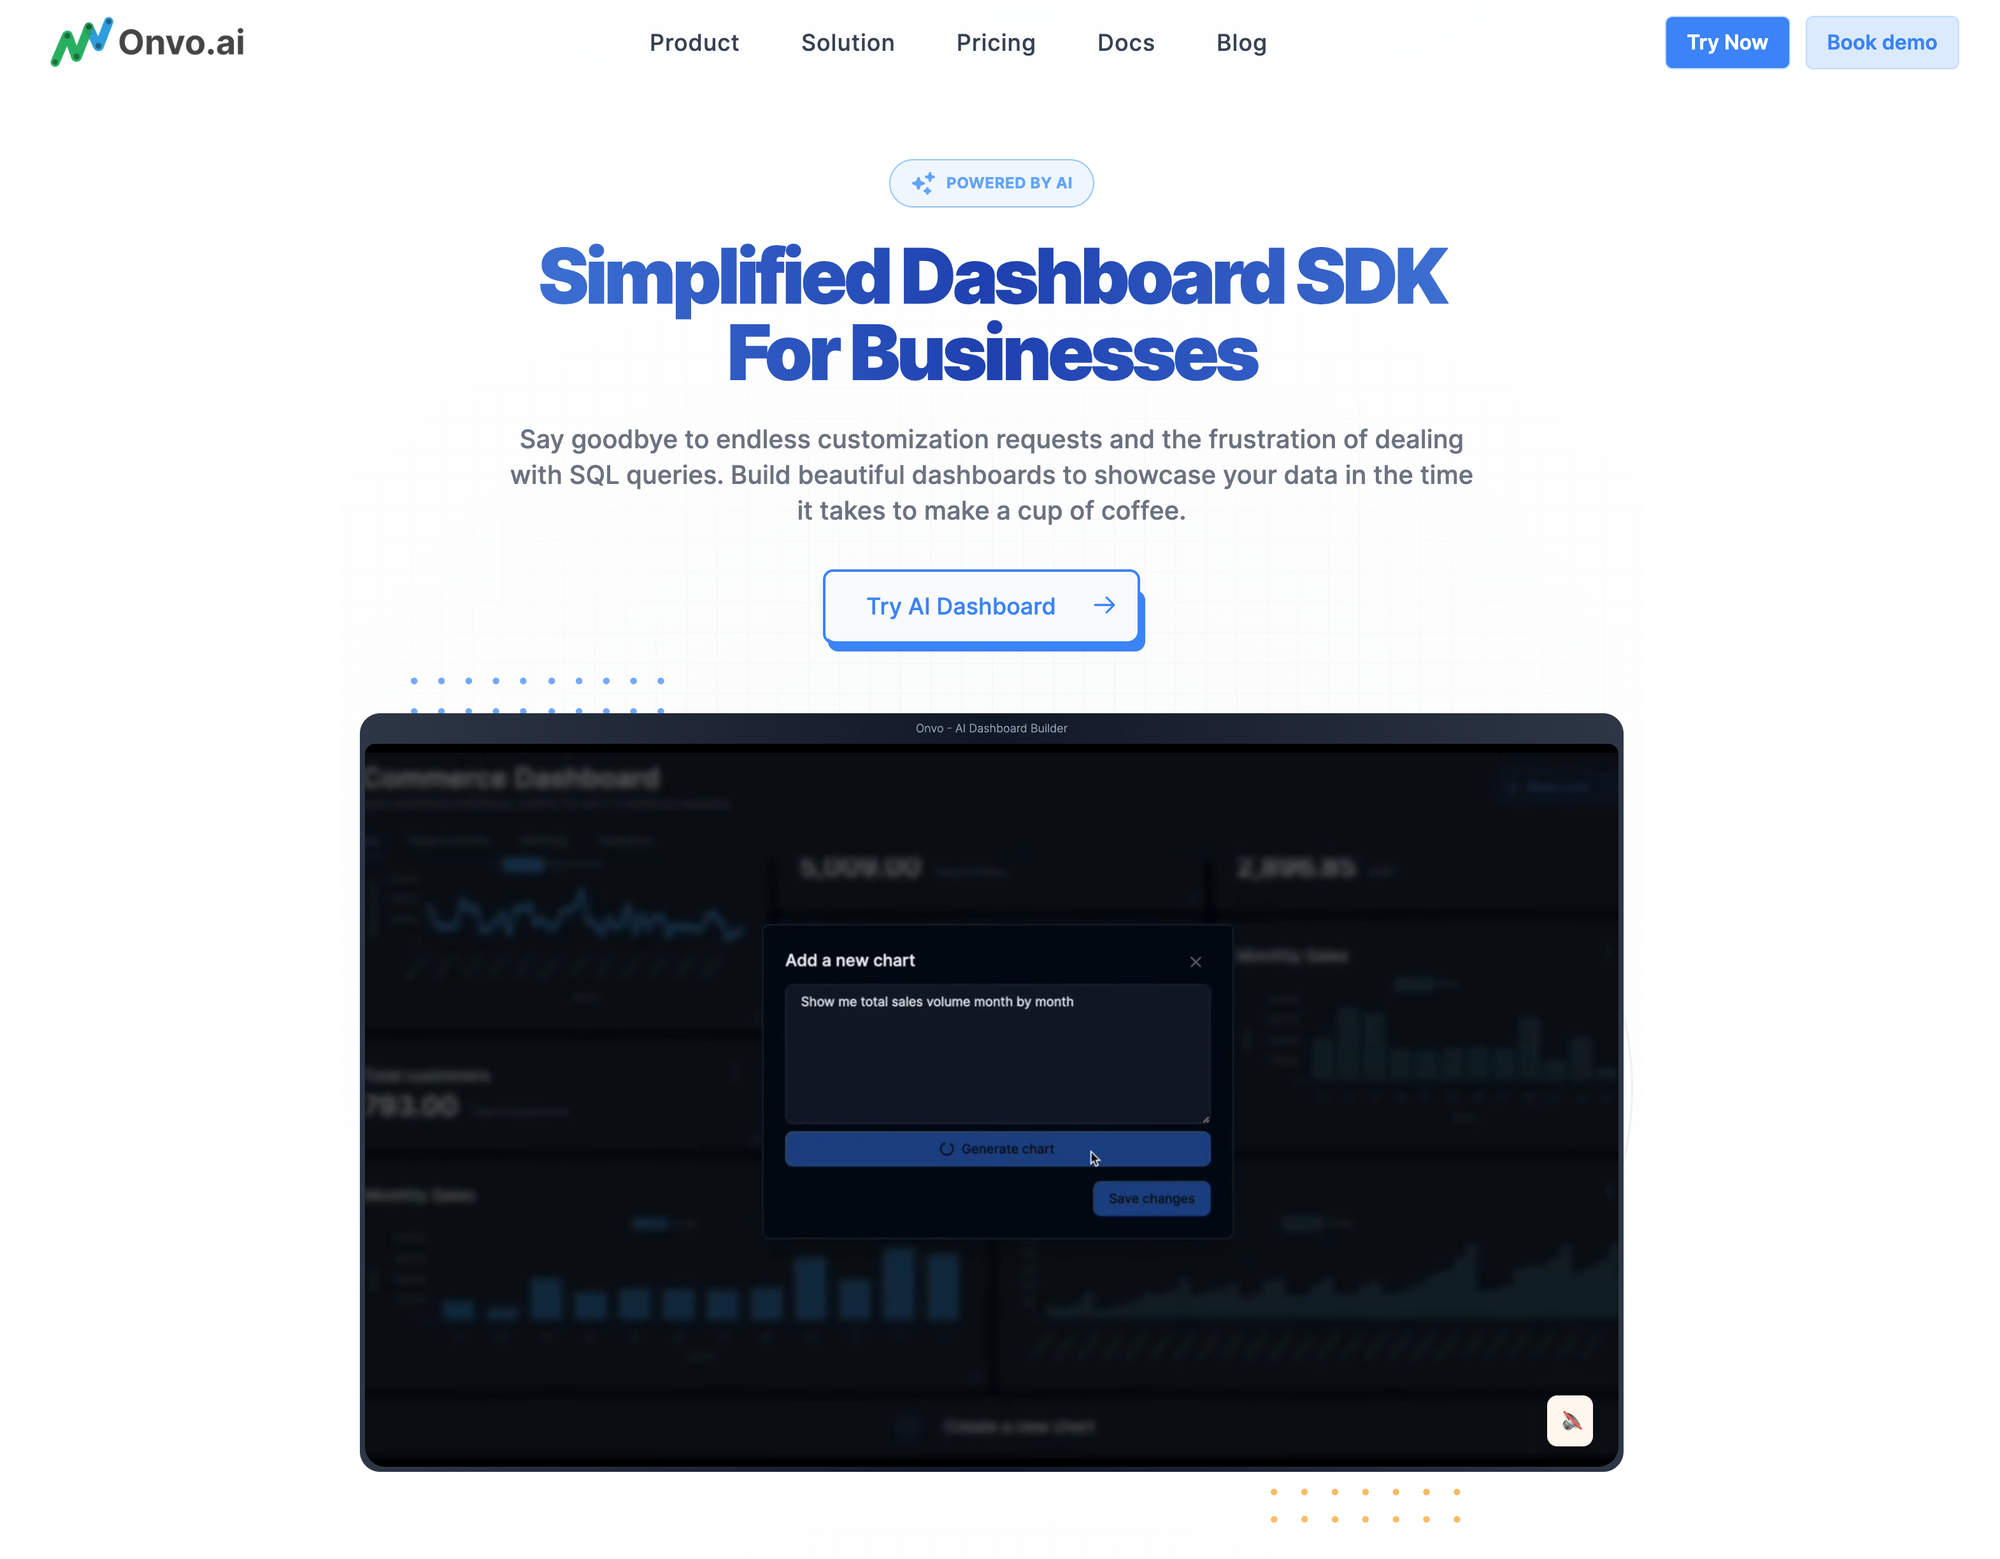
To get started, first create an account at dashboard.onvo.ai. We offer 30 day free trials on our plans so feel free to choose the plan that fits your needs best.
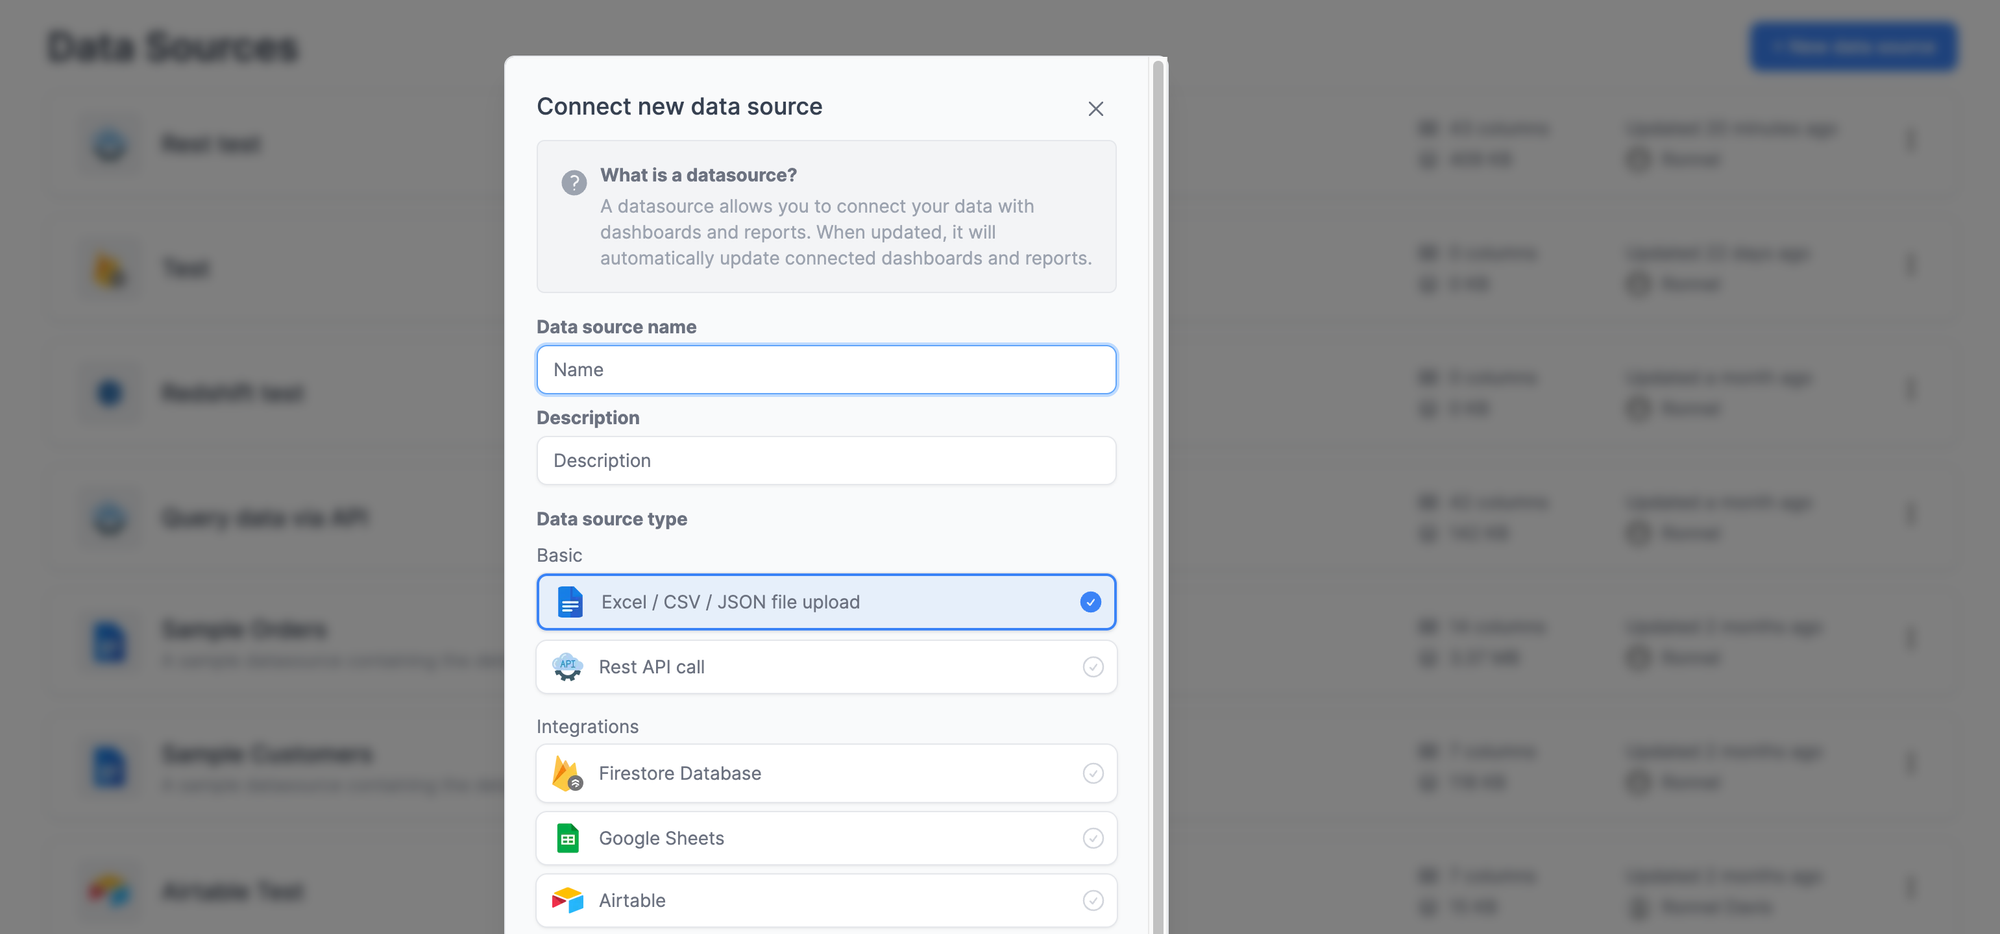
Next, you can connect a datasource, this could be an API request, a database link, an excel/csv file or one of Onvo's many integrated one-click connectors. Just head over to the data sources page and click on "New Data Source". Now fill in a name, an optional description and the type of data source and click "Connect".
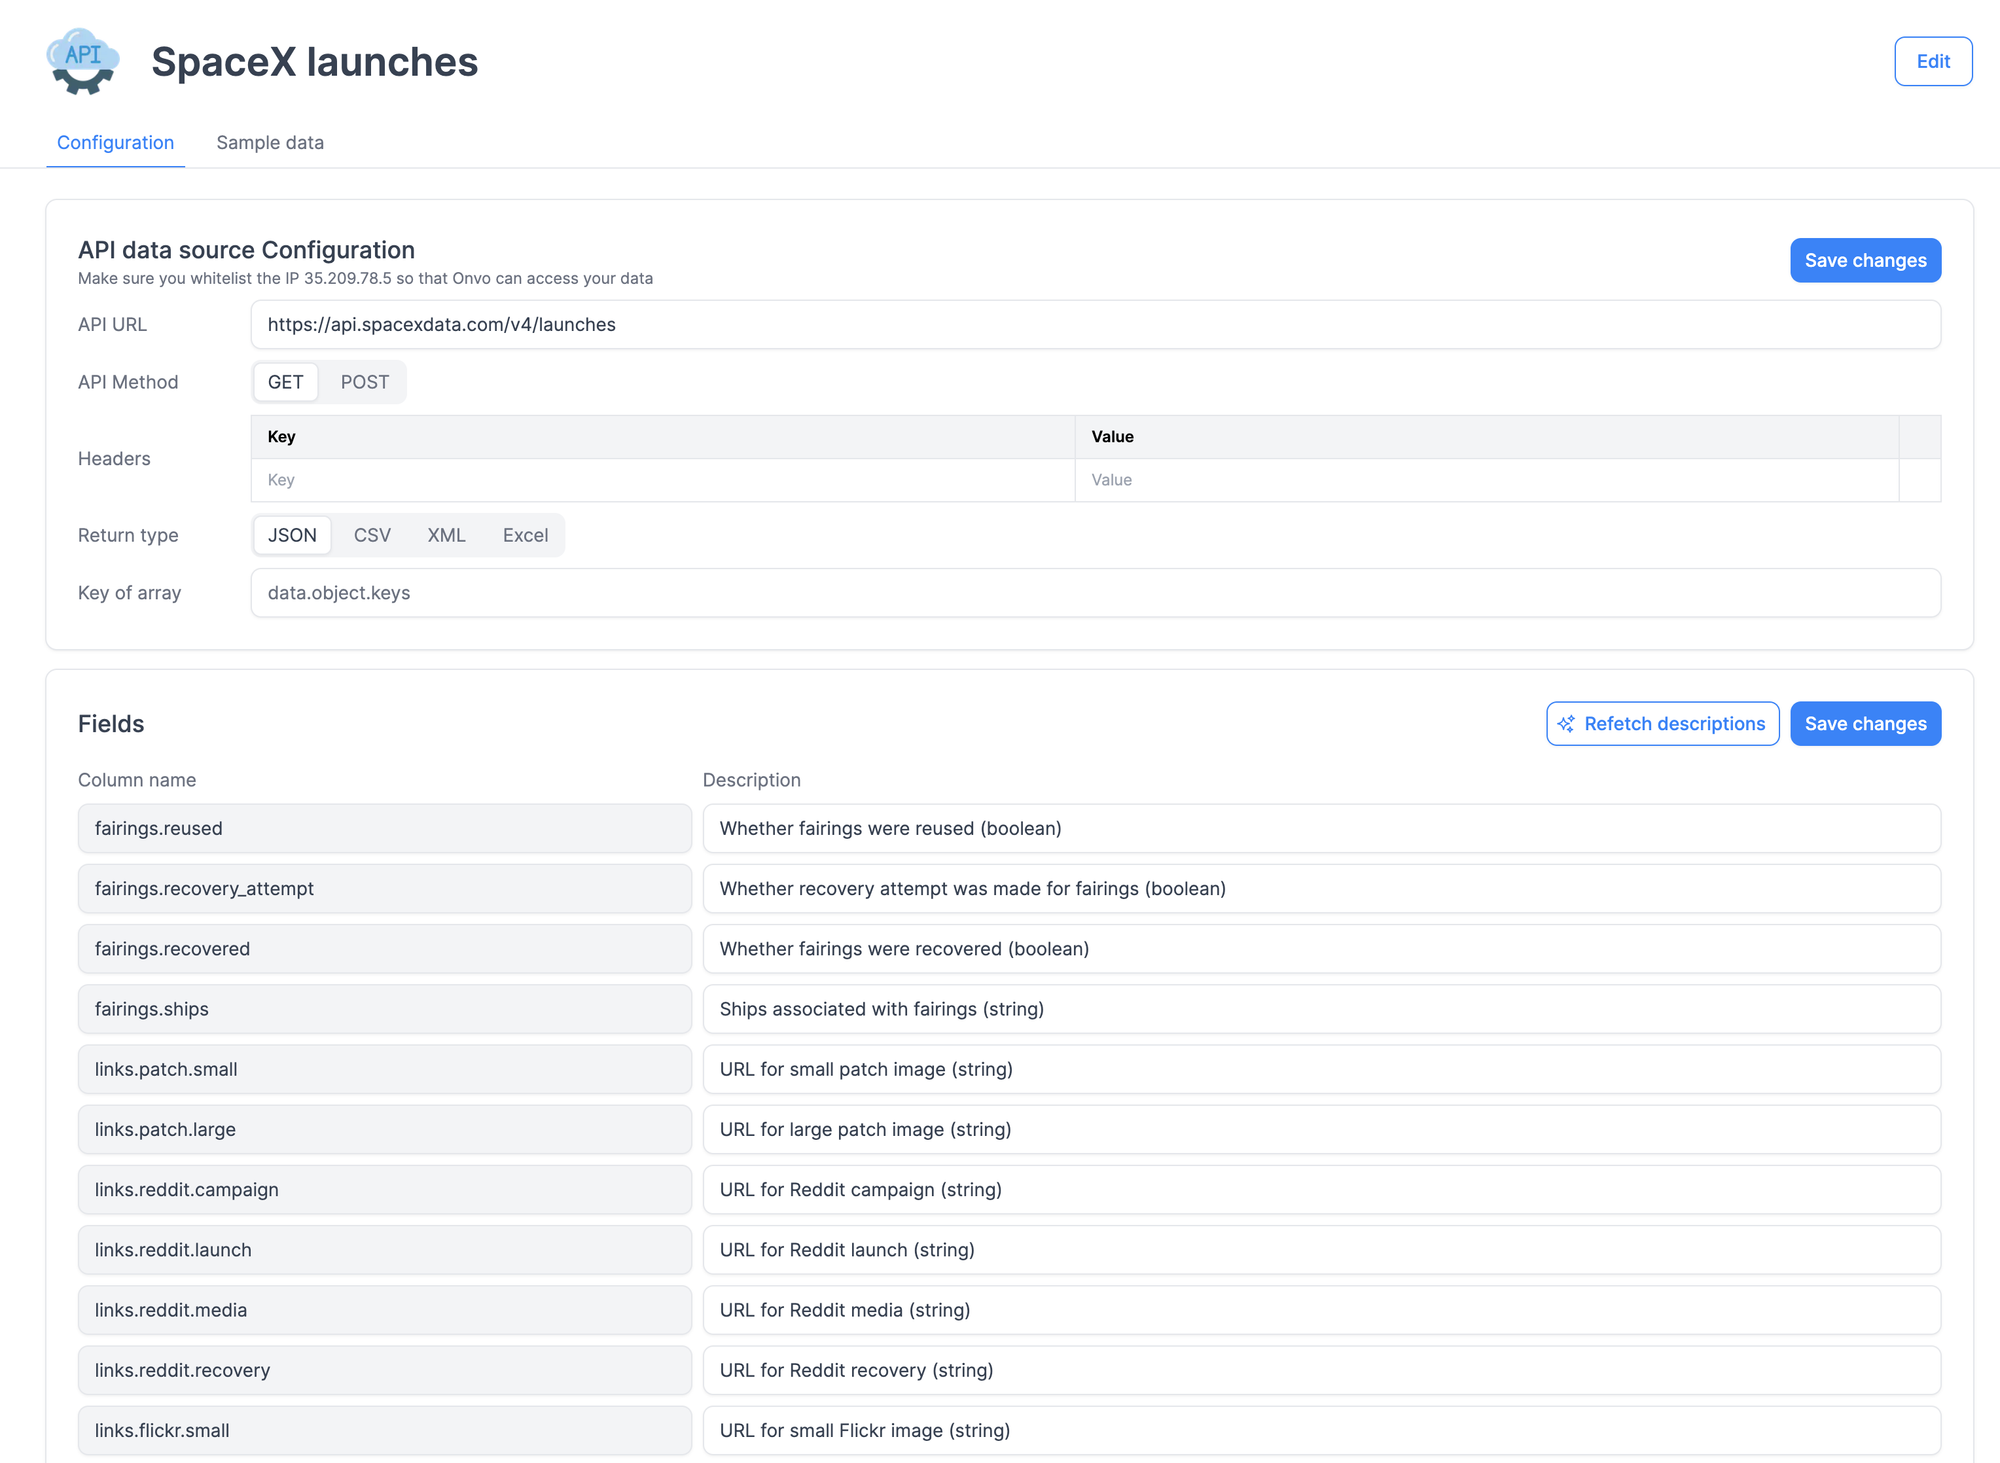
On the page that appears, you can now fill in the remaining details and click "Save Changes". The AI now kicks in to try and understand your data source better. Once this step is done, you can fine tune the column descriptions to be more descriptive and make your data more understandable.
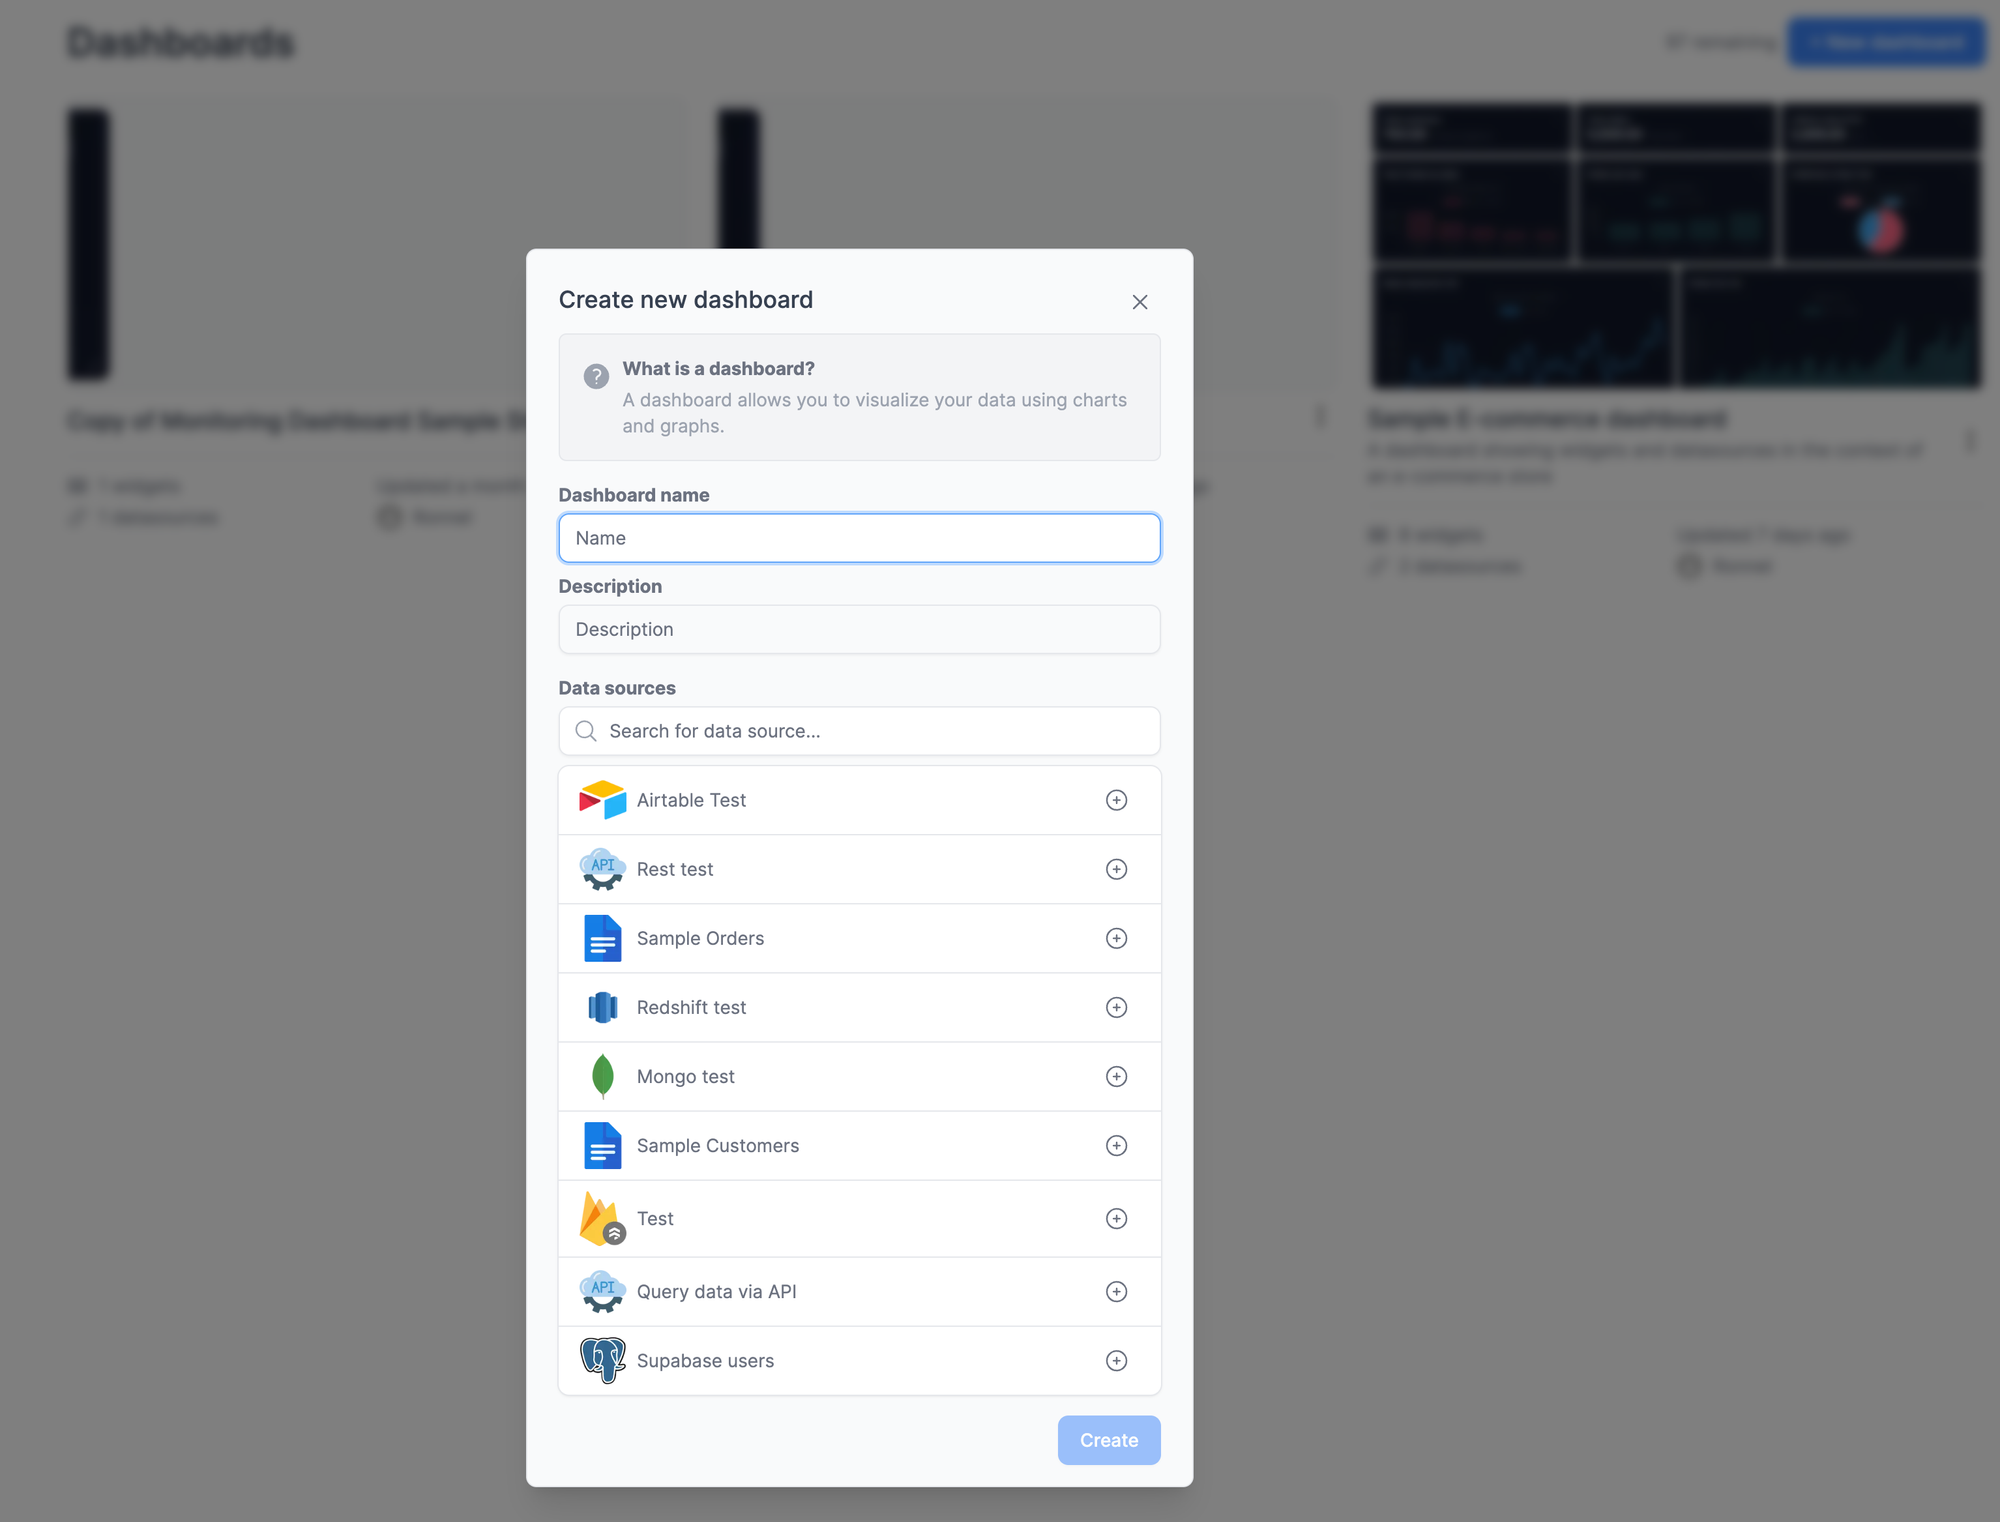
With the datasource linked, you can now create a dashboard to visualise the data. Head over to the dashboards page and click on "New Dashboard". You can now fill in the name of the dashboard, an optional description and pick the data sources you want to use for the dashboard. Then click "Create".
You can now create widgets on the dashboard by typing what you want in plain English.
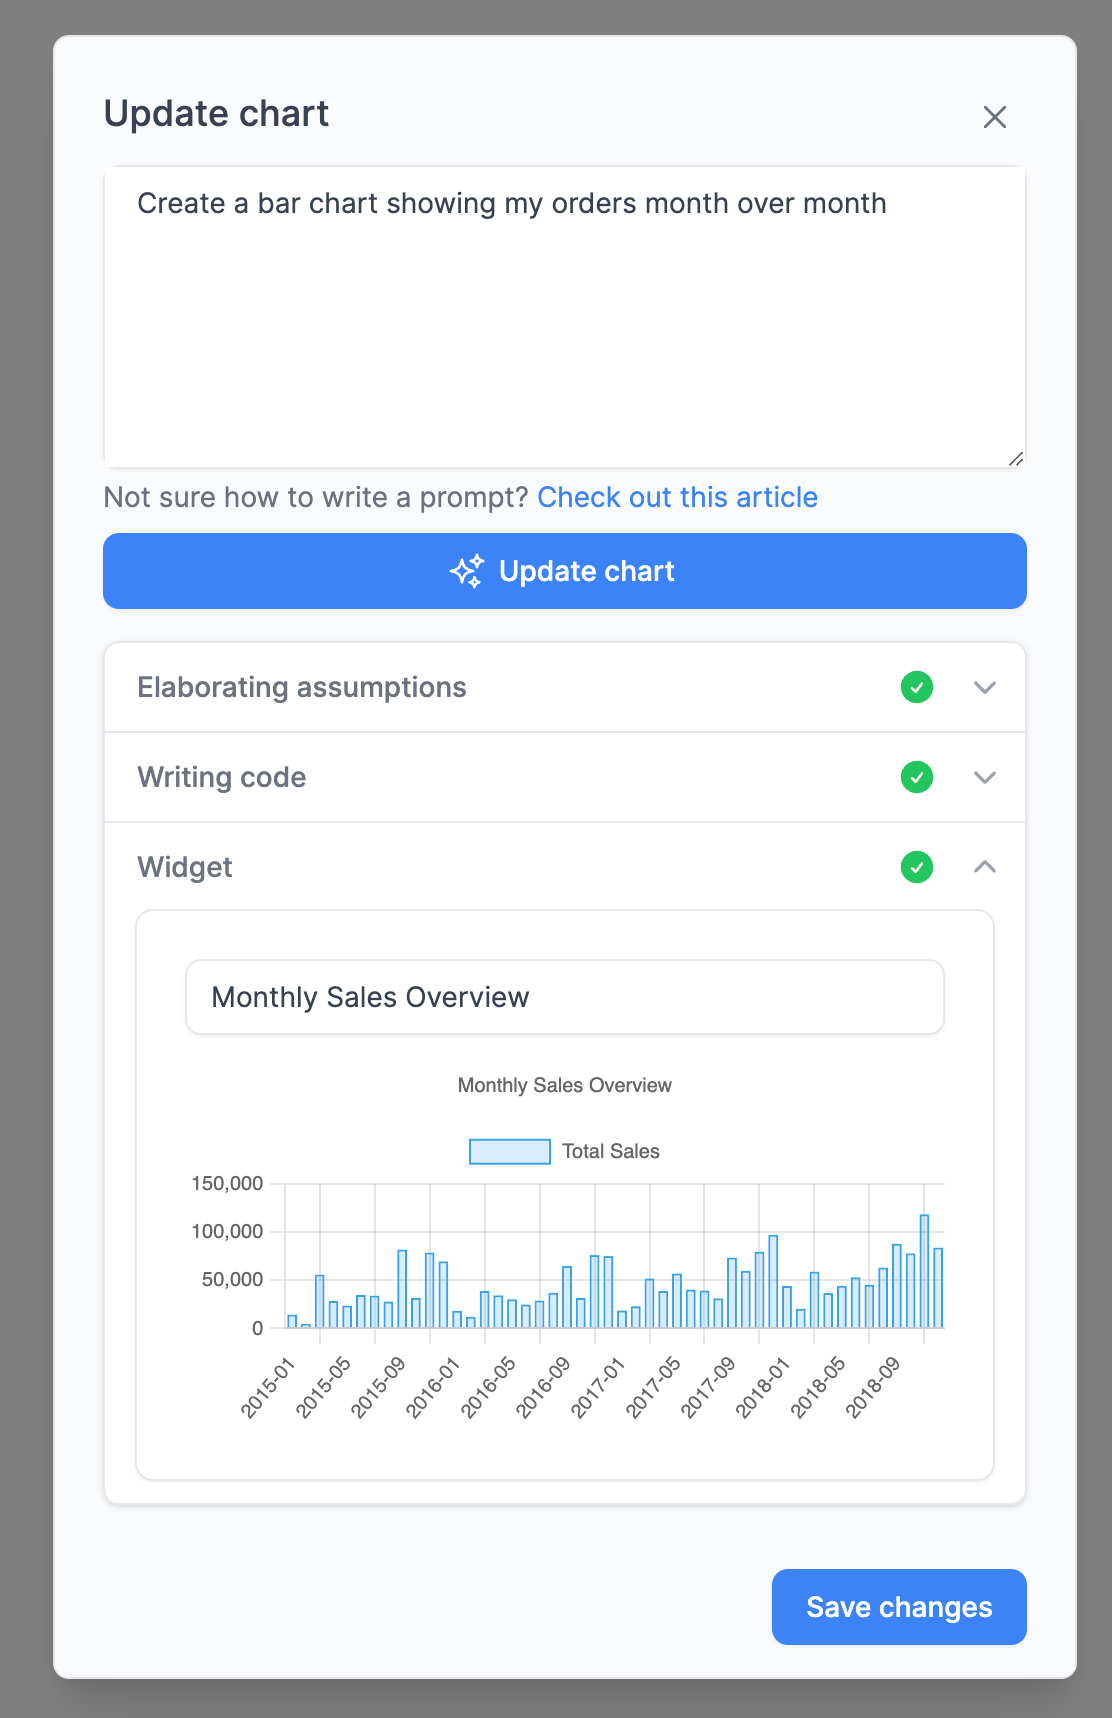
Now that you have a dashboard ready to embed, let's jump into the code.
Begin by creating an API key by going to settings > Developer, filling in a name for your API key and clicking 'Generate".
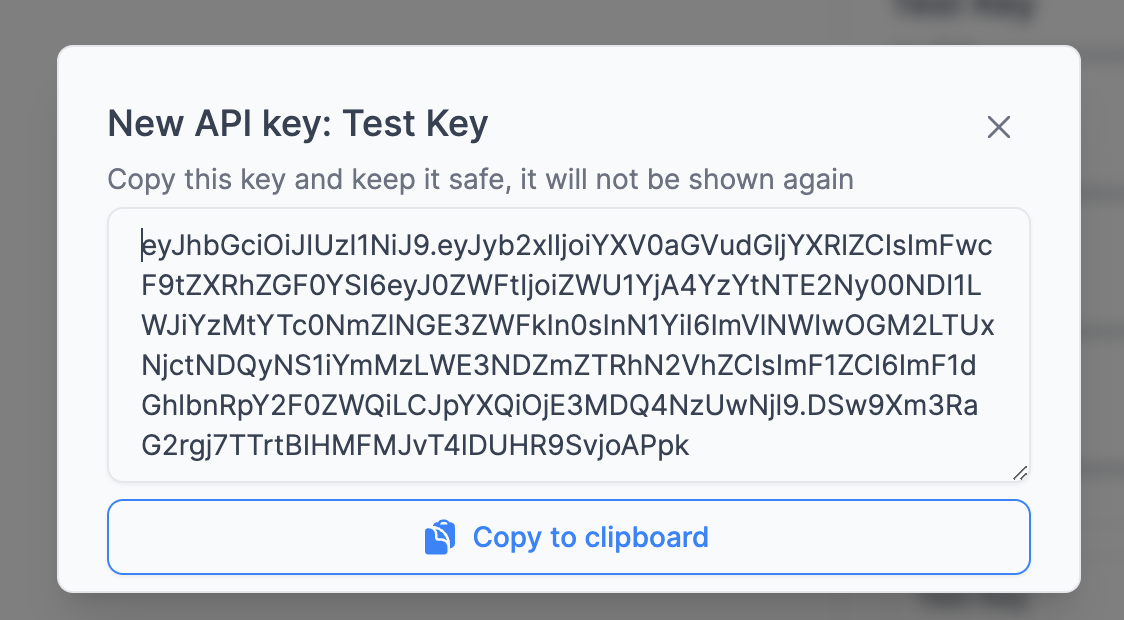
Save this API key to your env file.
API_KEY=eyJhbGciOiJIUzI1NiJ9.e...
Next, in your backend environment, install the @onvo-ai/js package, this lets you authenticate users, setup sessions and fetch the list of dashboards & reports.
npm install @onvo-ai/js
OR
yarn add @onvo-ai/js
Now initialise the SDK
import Onvo from "@onvo-ai/js";
import dotenv from "dotenv";

dotenv.config();
let onvo = new Onvo("https://dashboard.onvo.ai", process.env.API_KEY);
You can now fetch the list of dashboards you have with the following function call:
let dashboards = await onvo.getDashboards();
To allow a user to view a dashboard, you need to associate a user with the dashboard using a session. To get started, create the user using the following function:
await onvo.upsertEmbedUser("123456", {
    name: "John appleseed",
    email: "john@appleseed.com",
    metadata: {
        // can contain any other key-pair data you would want to store about the user
        group_id: 55,
    },
});
To create a session linking the user and a dashboard, you can use the following code:
let session = await onvo.createDashboardSession({
    dashboardId: <id of dashboard you have received from the previous getDashboards() function>,
    userId: "123456"
});
The session object looks like the following:
{
    "id": "1ad893d9-8654-4797-8603-d01186575349",
    "dashboard": "e0a6ce20-ca31-421e-8764-74cde46e9463",
    "organisation": "31a05cfd-1275-4c76-8390-20b328a3c4bf",
    "parameters": {
        "hello": "world",
        "testing": 1234567456
    },
    "user": "123456",
    "url": "https://dashboard.onvo.ai/embed/dashboard/e0a6ce20-ca31-421e-8764-74cde46e9463?token=eyJhbGciOiJIUzI1NiJ9.eyJyb2xlIjoiYXV0aGVudGljYXRlZCIsImFwcF9tZXRhZGF0YSI6eyJkYXNoYm9hcmQiOiJlMGE2Y2UyMC1jYTMxLTQyMWUtODc2NC03NGNkZTQ2ZTk0NjMiLCJzZXNzaW9uIjoiMWFkODkzZDktODY1NC00Nzk3LTg2MDMtZDAxMTg2NTc1MzQ5In0sInN1YiI6IjMxYTA1Y2ZkLTEyNzUtNGM3Ni04MzkwLTIwYjMyOGEzYzRiZi1zdWNjZXNzZnVsbCIsImF1ZCI6ImF1dGhlbnRpY2F0ZWQiLCJpYXQiOjE2OTQxNTU3Mjd9.P_eZloNdX7FN2sVWsANfIrHy5SikE1Zl8NPmAteDIwU"
}
Now you can embed the URL in an iframe to show the dashboard/report to your user. This URL contains a securely signed token that gives the user access to just the dashboard and nothing else. To show a different dashboard to the user, you would need to create a new session linking the user to the new dashboard and you would receive a different url to embed.
